Free self-paced courseEngineeringCourse information available

Paper Bridge Challenge

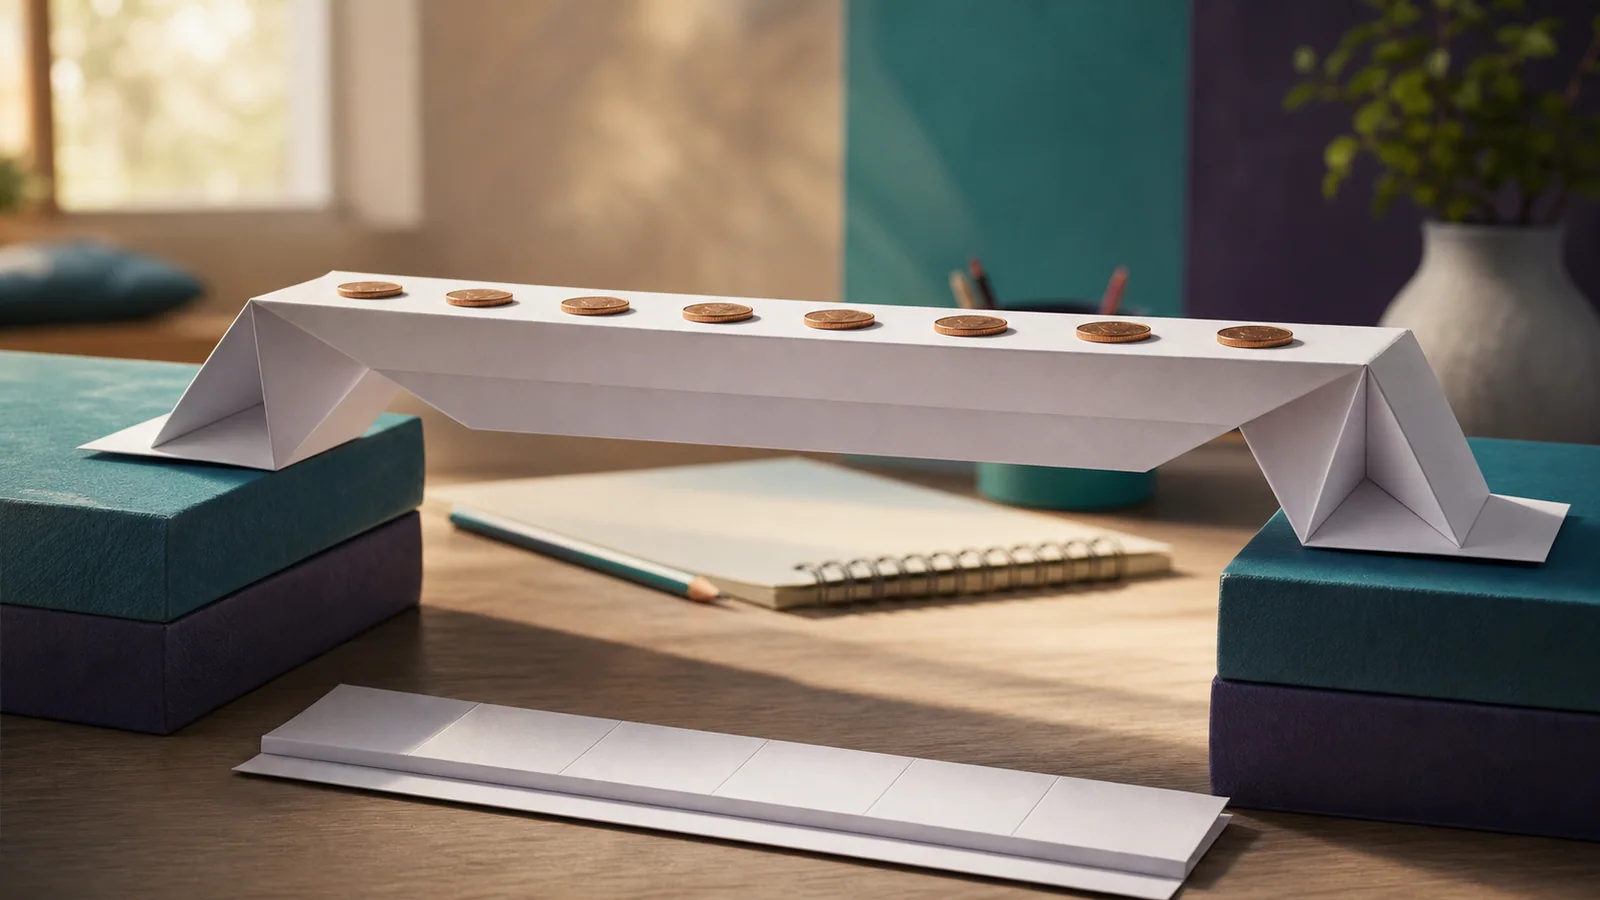
Explore how shape changes the strength of an everyday material. Learners plan and build a paper bridge, apply a load gradually, record where the structure bends or fails, then redesign it using evidence. The challenge values careful testing and clear reasoning rather than simply holding the greatest number of coins.

Age range
Ages 8–13
Total learner time
65–80 min
Video time
35 min
Difficulty
Beginner/Intermediate

Creative / challenge time: 30–45 min

Lesson recordings are still being prepared

No payment required

A low-angle view of a carefully folded paper bridge carrying coins between two stable supports

This course information is available now. Lesson recordings, captions and the learning area will open after final review.

What you will learn

  • Recognise that the shape of a material affects its strength.
  • Explain the roles of load, support and span in a simple bridge.
  • Create and label a practical design plan.
  • Perform a gradual, fair strength test.
  • Observe and identify bending and failure points.
  • Improve a prototype using evidence from its first test.

Skills developed

Engineering • Structural design • Problem-solving • Testing • Data collection

Materials

  • Sheets of paper
  • Tape
  • Two books or boxes of equal height
  • Coins, counters or another safe and repeatable test weight
  • Pencil
  • Printed or digital test-record sheet
Open printable activity sheet

Future Forge lesson formula

WATCH → TRY → CREATE → CHALLENGE → SHARE

  1. 1

    WATCH

    Look at different bridge types; discover why shape matters; learn about compression, tension and support; introduce the engineering design process.

  2. 2

    TRY

    Fold and test different paper shapes; compare flat paper with folded paper; predict which shape will be strongest.

  3. 3

    CREATE

    Design and build a bridge using a limited amount of paper; test it by gradually adding weights; record design, prediction, test and result.

  4. 4

    CHALLENGE

    Improve the bridge without simply adding more paper using triangles, folds, tubes, beams or different support structures.

  5. 5

    SHARE

    Explain the strongest design and the evidence showing why it was stronger.

What the learner creates

A paper bridge capable of supporting as much weight as possible.

Parent or guardian note

An adult should help to choose stable supports and suitable test weights, and should supervise any cutting. Let the learner's first design be genuinely theirs, even if it bends quickly. Prompt them to notice where the bridge changed shape and to connect each redesign decision to that evidence.

Safety and access

Build and test on a low, clear tabletop or floor area. Use stable supports that cannot topple, keep feet and fragile objects away from falling weights, and add only small, safe weights one at a time. Do not use glass, sharp metal, heavy tins or body weight as a load. Stop immediately if a support shifts. An adult should supervise scissors and manage any paper cuts or torn edges.

This free course is self-paced

Work independently through a short, structured introduction and complete one practical outcome at home.

Live guided learning goes further

Paid live lessons add personalised guidance, discussion and access to the wider project library. This free course does not make the full catalogue free.

Explore learning-hour packs